Ironman Software Forums
Continue the conversion on the Ironman Software forums. Chat with over 1000 users about PowerShell, PowerShell Universal, and PowerShell Pro Tools.

 Discuss this Article
JetBrains Rider is a cross-platform .NET IDE. It’s similar to Visual Studio and includes a plugin architecture. In this post, we’ll look at how to run scripts in .NET Rider.
Within the Rider application, press Ctrl+Alt+S to open the settings dialog and navigate to Plugins. Search for the PowerShell plugin and click Install.
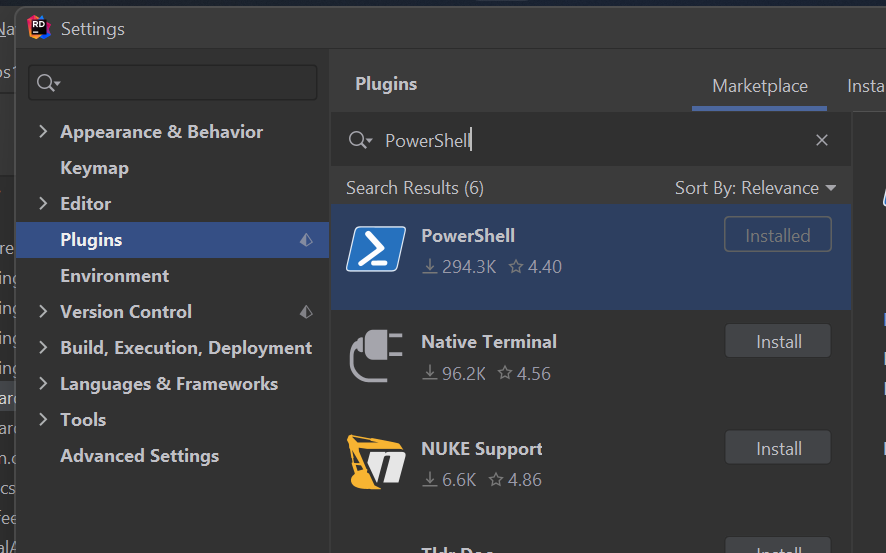
JetBrains Rider Settings
You will need to restart the IDE before the settings take affect.
The PowerShell plugin provides IntelliSense to PS1 files. You can create a new scratch PS1 file by right-clicking in the Scratch and Consoles or by pressing Ctrl+Alt+Shift+Insert.

JetBrains Rider Scratch
Select a PowerShell scratch file to create a new PS1. IntelliSense will be presented while typing and you can also invoke IntelliSense manually by using Ctrl+Space.
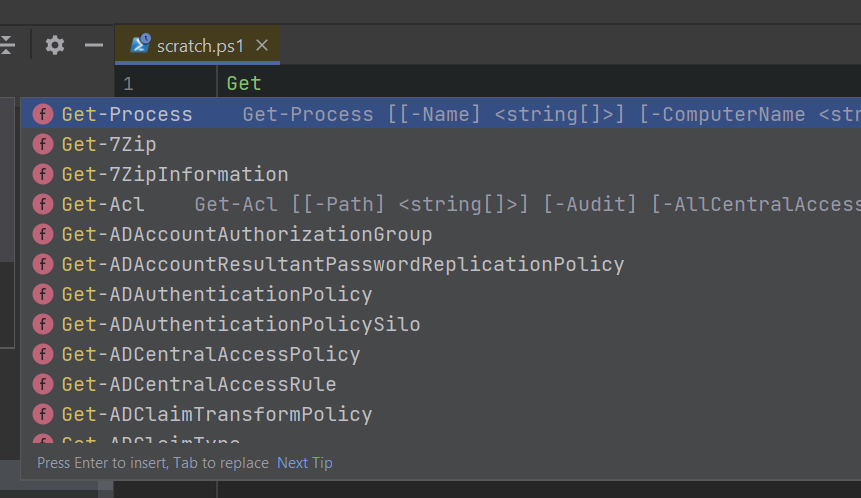
JetBrains Rider PowerShell IntelliSense
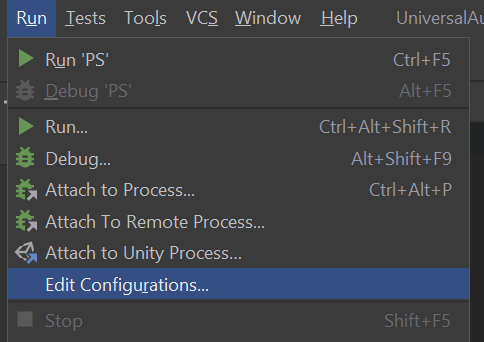
To execute PowerShell, you will need to create a new run configuration. Click Run \ Edit Configurations to open the configuration editor.
JetBrains Rider Run Configurations
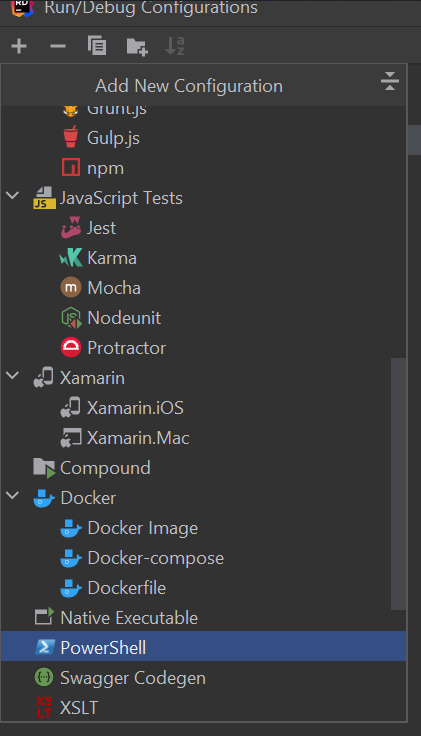
Click the plus button and select PowerShell.
JetBrains Rider Add Run Configuration
Finally, set the script path the PowerShell path to execute.
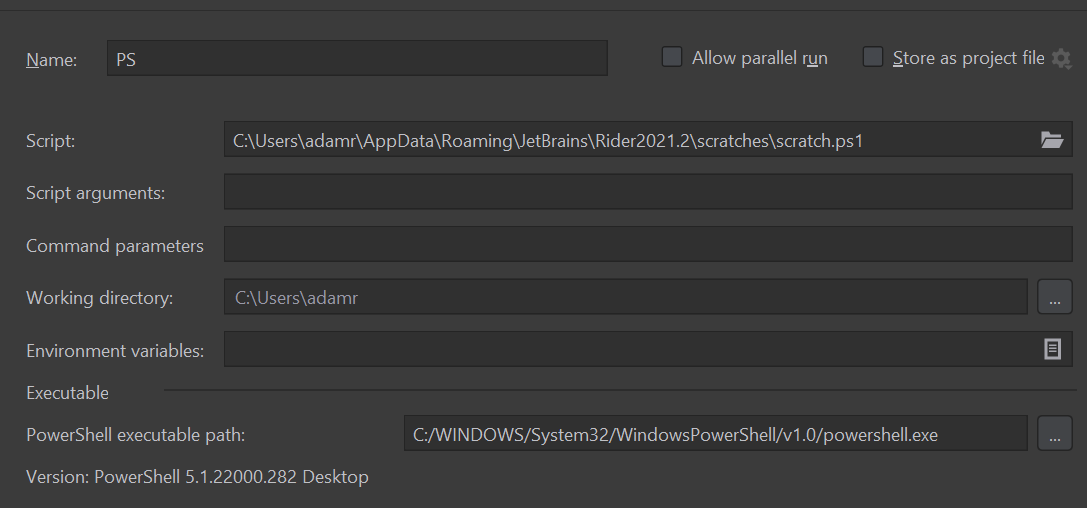
JetBrains Rider Run Configuration
Once configured, you’ll be able to select the configuration from the run drop down and execute the script. Click the Run button to execute the script or press Ctrl+F5.
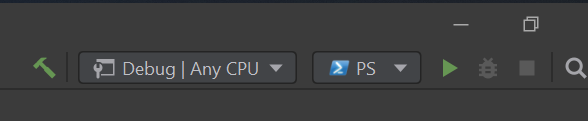
JetBrains Rider Run
Find this useful? Please consider sharing this article. Have a question about PowerShell? Contact us and we'll write a post about it.
Continue the conversion on the Ironman Software forums. Chat with over 1000 users about PowerShell, PowerShell Universal, and PowerShell Pro Tools.