Ironman Software Forums
Continue the conversion on the Ironman Software forums. Chat with over 1000 users about PowerShell, PowerShell Universal, and PowerShell Pro Tools.

 Discuss this Article
In this post, we’ll look at how to run PowerShell Universal as your own personal automation platform.
While PowerShell Universal is widely used as an enterprise automation platform, the feature set also works well when running on the desktop. You can trigger scripts, schedule jobs, create user interfaces and more with just your PowerShell chops. PowerShell Universal also has a generous free offering and heavily discounted individual licenses that provide all the features that the organizational licenses offer.
If you’re not convinced, take a look at this post and try it out for free.
PowerShell Universal comes in many flavors but getting it to install properly for the desktop takes a few steps. You won’t want to use the MSI or IIS version as it’ll install as a service and won’t run on your desktop.
The below script will do the following:
$Version = Invoke-RestMethod https://imsreleases.blob.core.windows.net/universal/production/version.txt
Invoke-WebRequest "https://imsreleases.blob.core.windows.net/universal/production/$Version/Universal.win7-x64.$Version.zip" -OutFile .\universal.zip
$InstallPath = [IO.Path]::Combine($Env:USERPROFILE, "Documents", "PowerShell Universal")
Expand-Archive .\universal.zip $InstallPath
Install-Module Universal

$StartupDirectory = Join-Path $Env:APPDATA "Microsoft\Windows\Start Menu\Programs\Startup"
$ExecutablePath = Join-Path $InstallPath "Universal.Server.exe"
New-Item -ItemType SymbolicLink -Path $StartupDirectory -Name "PowerShell Universal.lnk" -Value $ExecutablePath

$Data  = Join-Path $Env:ALLUSERSPROFILE "PowerShellUniversal"
New-Item $Data -ItemType Directory

$SourceAppSettings = Join-Path $InstallPath "appsettings.json"
$TargetAppSettings = Join-Path $Data "appsettings.json"
Copy-Item $SourceAppSettings $TargetAppSettings

$Appsettings = Get-Content $TargetAppSettings -Raw | ConvertFrom-Json
$Appsettings.Kestrel.Endpoints.HTTP.Url = "http://localhost:5000"
$Appsettings | ConvertTo-Json | Out-File $TargetAppSettings

Start-Process $ExecutablePath
Start-Process "http://localhost:5000"
To make it easier to access PowerShell Universal, you can add a tray icon to the system tray. When it’s clicked, it will open PowerShell Universal in the browser. You can change the URL to go to different parts of PSU. This code was taken from this article. You could also include additional menu items to go to different parts of the tool.
[System.Reflection.Assembly]::LoadWithPartialName('System.Windows.Forms')    | Out-Null
$icon = [System.Drawing.Icon]::ExtractAssociatedIcon("C:\Windows\System32\Magnify.exe")
$Systray_Tool_Icon = New-Object System.Windows.Forms.NotifyIcon
$Systray_Tool_Icon.Text = "PowerShell Universal"
$Systray_Tool_Icon.Icon = $icon
$Systray_Tool_Icon.Visible = $true
$Systray_Tool_Icon.Add_Click( {
        Start-Process http://localhost:5000
    })
This example will create a lunch reminder. It will use PSU schedules and BurntToast to pop up a notification right before noon.
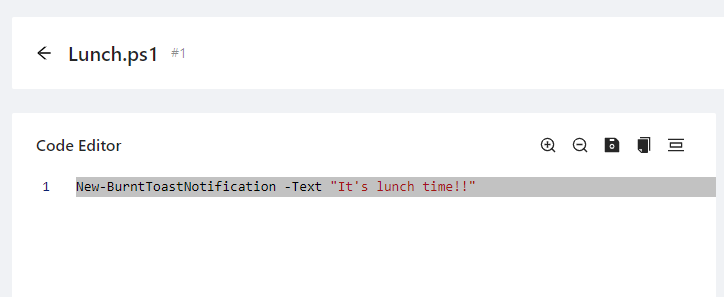
First, create a script in PowerShell Universal for the notification. You need to click Automation \ Scripts \ Create New Script.
New-BurntToastNotification -Text "It's lunch time!!"
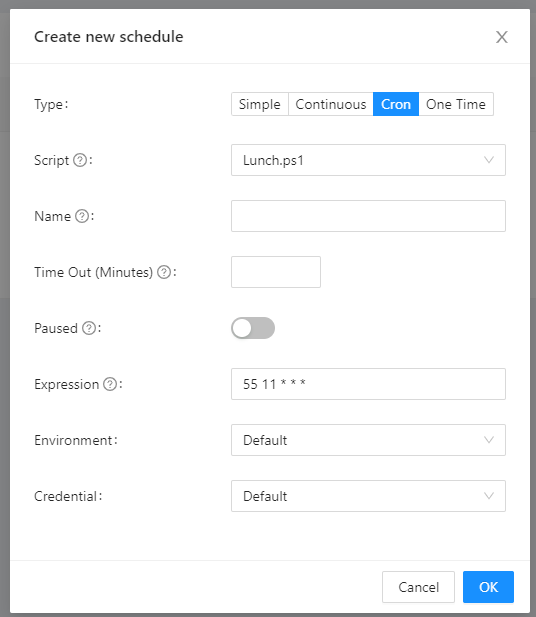
Once the script has been created, try running it to see your notification. Now that we have the script created, let’s schedule it. Click Automation \ Schedules \ Create New Schedule. We’ll use the CRON schedule 55 11 * * * to run at 11:55 AM every day.
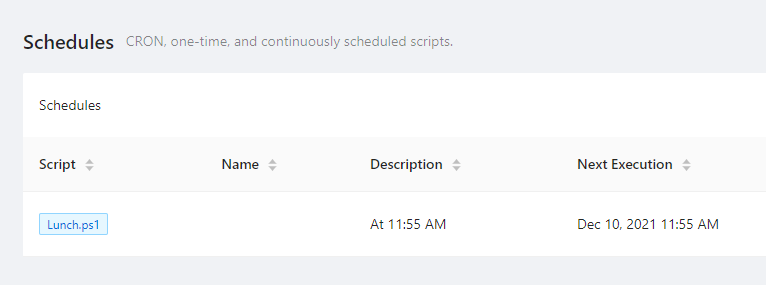
Now that the schedule is created, it will run each day at 11:55 AM.
Next, let’s look at calling an external API and taking some action based on the results of that action. In my last post, we talked about how to use the CoinMarketCap API to query prices for cryptocurrency. Let’s create a script and schedule to notify us when the price hits a certain amount.
First, we can create two variables. The first variable will include our API key. You should use a secret variable so it’s not visible and stored within Credential Manager. Next, create another variable that should be the price we want to be alerted to. You can create variables by navigating to Platform \ Variables.
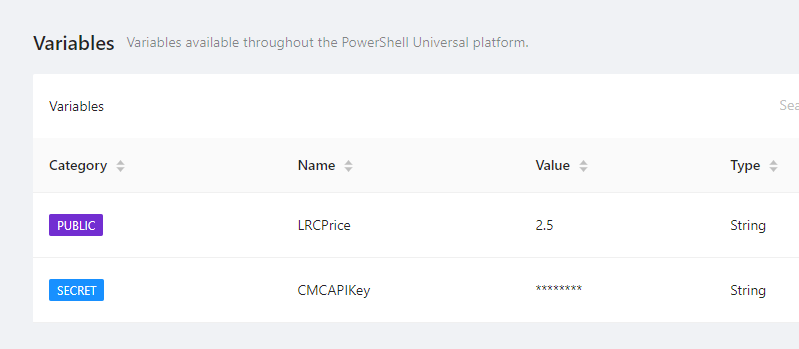
Now that these variables have been created, they will be available in all features within PowerShell Universal. You’ll be able to access them like standard PowerShell variables (e.g. $LRCPrice).
With our variables in hand, let’s create a script that uses them. This script will call the /quotes API and return the USD price for the Loopring ($LRC) cryptocurrency. We can then compare that with our $LRCPrice variable and notify if the price drops below that. The script will also open a browser to a trading platform to take action.
$data = Invoke-RestMethod 'https://pro-api.coinmarketcap.com/v1/cryptocurrency/quotes/latest?symbol=LRC&&convert=USD' -Headers @{ "X-CMC_PRO_API_KEY" = $CMCApiKey }
$CurrentPrice = [float]$data.data.LRC.quote.USD.price
$NotificationPrice = [float]$LRCPrice
if ($CurrentPrice -lt $NotificationPrice)
{
    New-BurntToastNotification -Text "LRC has dropped below `$2.5!!!"
    Start-Process https://pro.coinbase.com/trade/LRC-USD
}
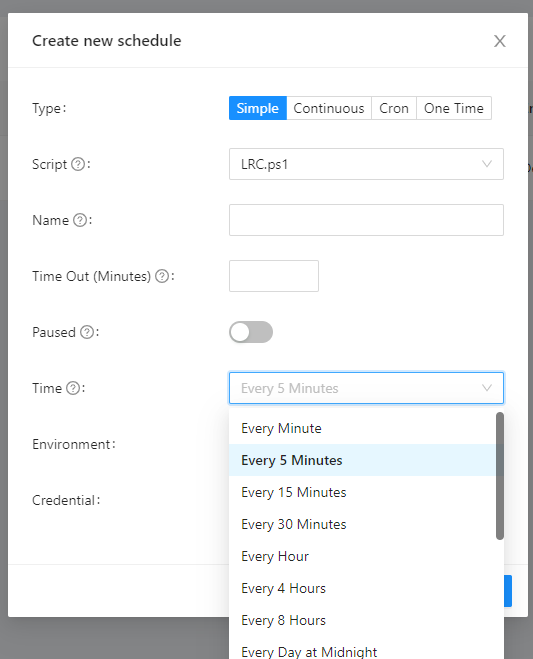
Finally, let’s create a schedule that checks regularly. Note that the CoinMarketCap API has rate limits so don’t schedule too often. Navigation to Automation \ Schedules and create a new schedule. This time, we’ll select a simple schedule to run every 5 minutes.
Let’s look at an example of creating a user interface for one of our scripts. You could certainly do this with Windows Forms or WPF but by using PowerShell Universal, you have everything in one place and can view the execution history of your scripts.
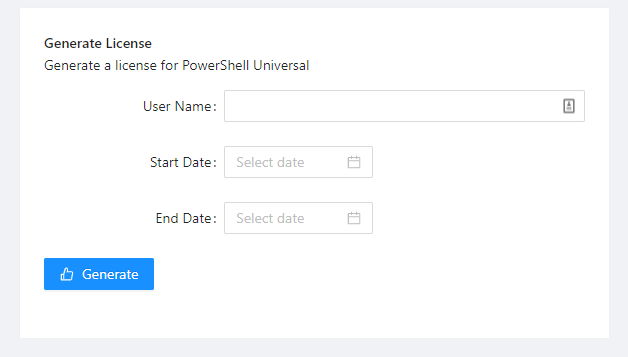
In this example, I’ll be using a module for generating license keys for PowerShell Universal. It accepts a user name, start date and end date. First, let’s create a script to execute when the UI is used.
param($UserName, [DateTime]$StartDate, [DateTime]$EndDate)

Import-Module licensing
Get-IMSLicense -Type PowerShellUniversal -Name $UserName -StartDate $StartDate -EndDate $EndDate
Next, let’s create a page by clicking User Interfaces \ Pages and Create New Page. I’ll call the page License. Once the page has been created, you can begin editing it by click the View button and then Edit.
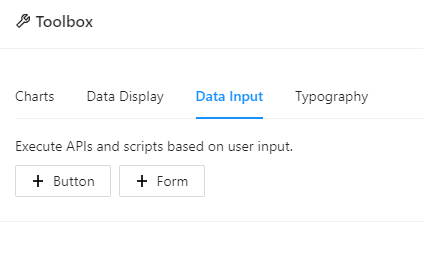
Click the Toolbox button and navigate to the Data Input tab. You’ll find a form there.
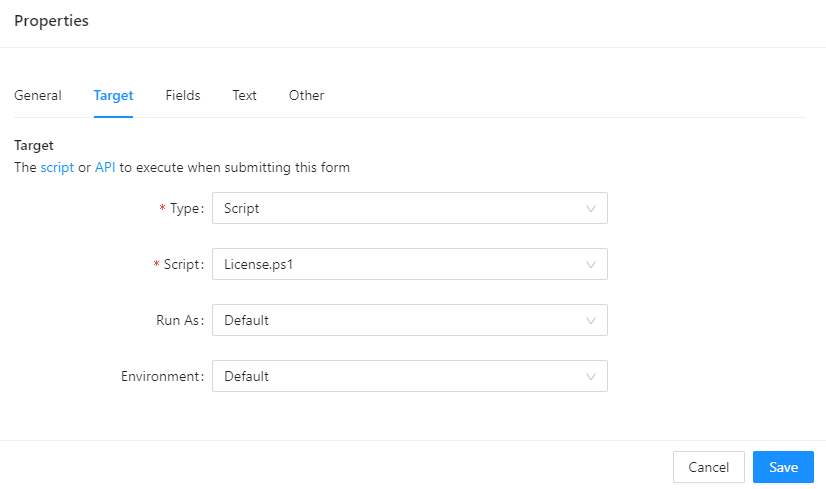
Finally, we can select all the options for the form. I’ve updated the title and description and set the output type to text. By settings it to text, the output from the script will be displayed after the script has run.

I then changed the target to point to the License.ps1 script.
Finally, I added some fields for each parameter.
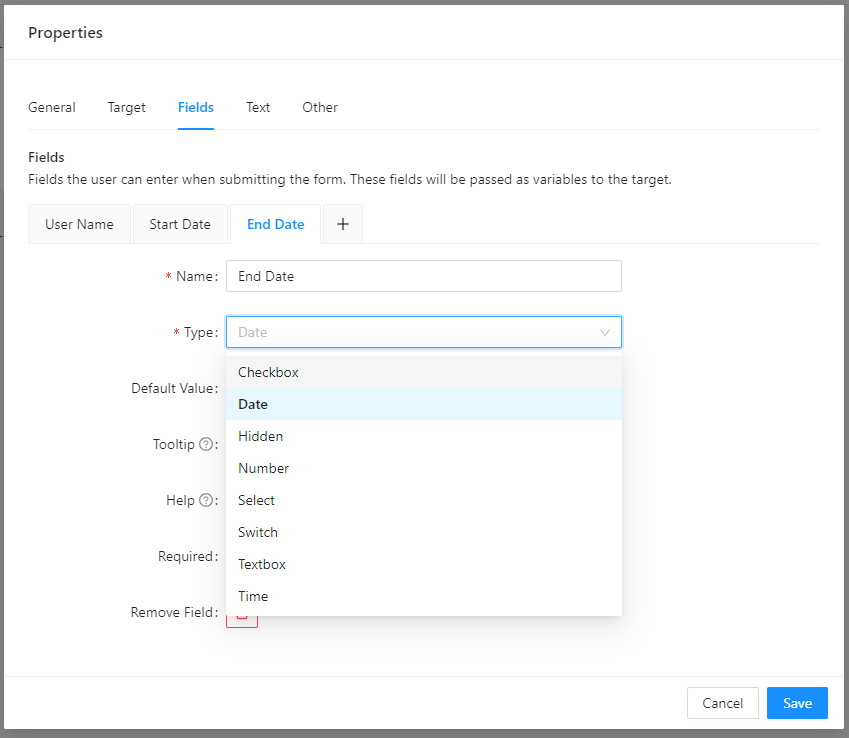
The resulting form looks like this. Executing the form will display the generated license key.
In this final example, we’ll look at how to use an external web hook to trigger a local action on your desktop. First, you’ll need to download and configure ngrok. ngrok alls for tunnels from the internet to your local machine. You’ll need to make an account and get an auth token. Once you have that, you can configure ngrok and have to tunnel to HTTP 5000. This is the port that PowerShell Universal is listening on.
ngrok authtoken mytoken123
ngrok http 5000
You should see something like this.
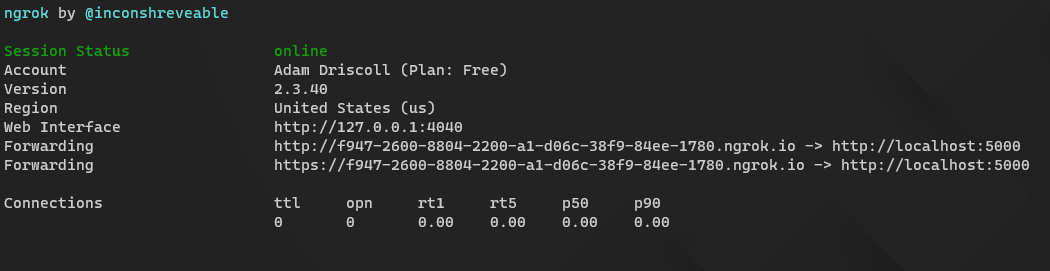
You can even try connecting to your forwarding address and you should see PowerShell Universal. ngrok will print out the requests it is receiving.

Now, let’s setup an API endpoint that we can all to do something on our machine. In this case, I want to show a notification when my kitchen lights have turned on. To create an endpoint, click API \ Endpoints \ Create New Endpoint. I’ll create a new POST endpoint called lights.
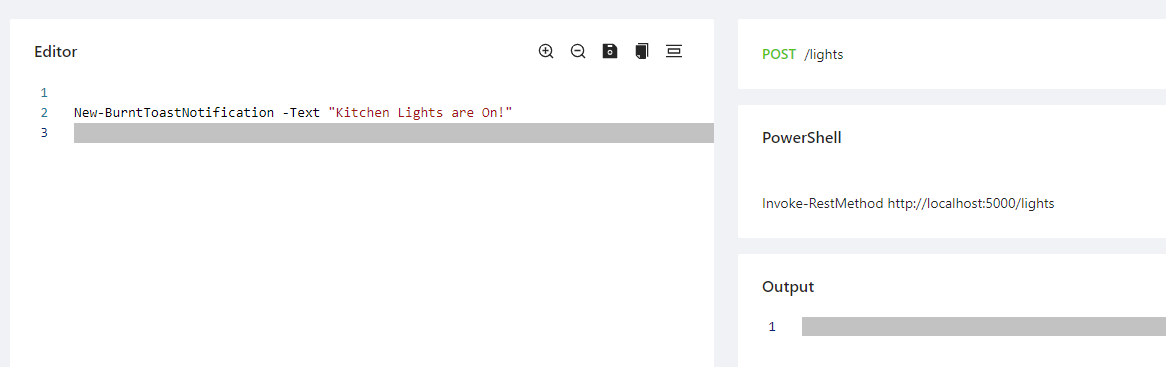
I can try this endpoint out by invoking it with the following.
Invoke-RestMethod 'http://localhost:5000/lights' -METHOD post
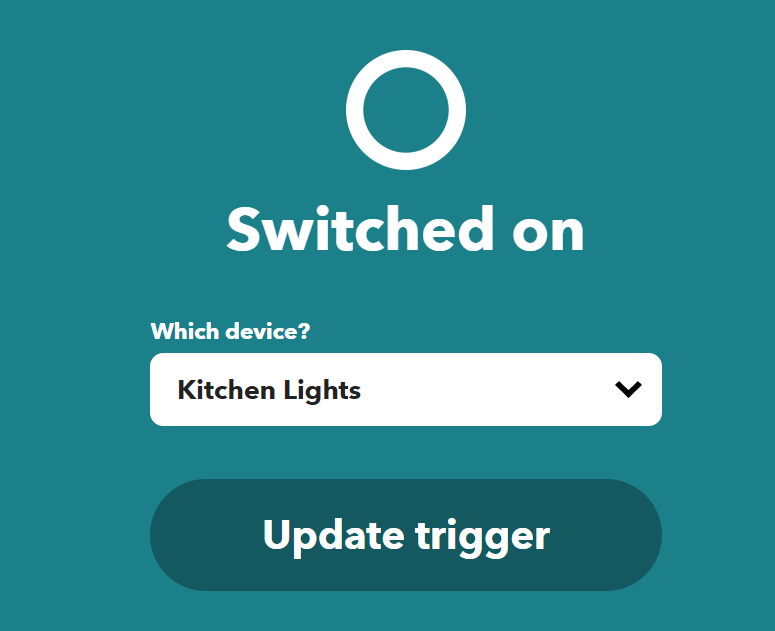
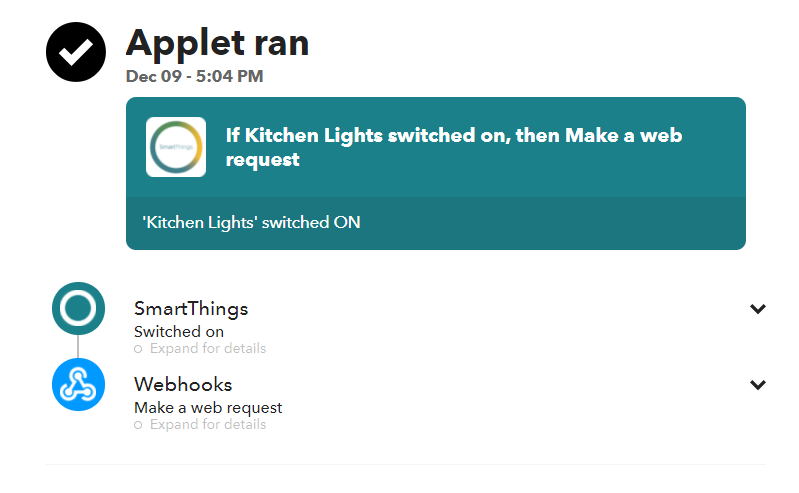
Next, we can hook this up to my smart home. I have a SmartThings hub connected to my kitchen lights. Using the IFTTT SmartThings integration. I can get information about a light being turned on.
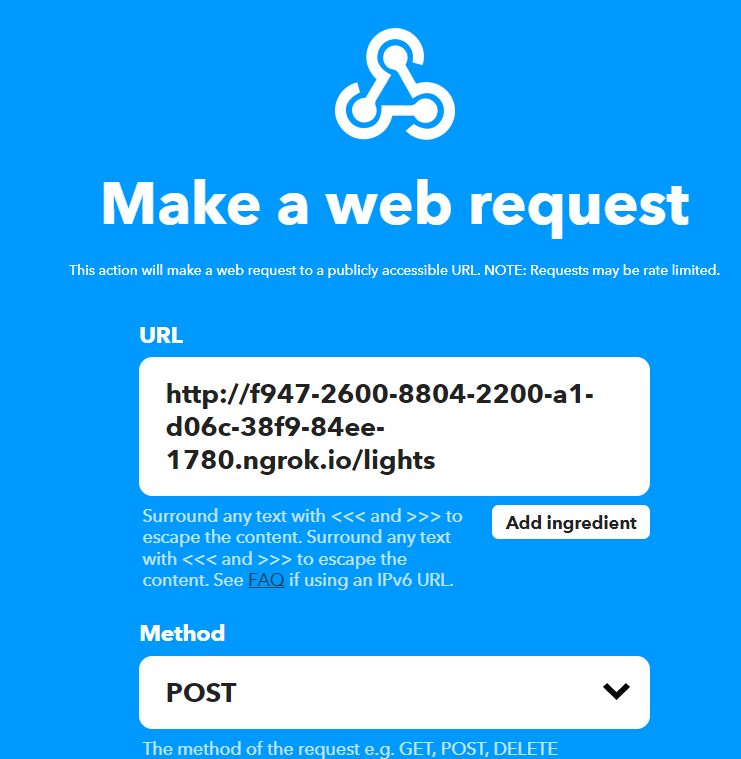
Next, I can trigger web hook. This web hook will be the external ngrok URL and will trigger my /lights endpoint in PowerShell Universal.
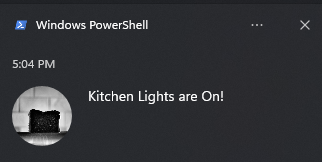
Now, I told Alexa to turn on my Kitchen lights, which it did and that sent a notification to SmartThings, which sent a notification to IFTTT, which sent a web hook to PowerShell Universal, which popped up a toast notification on my desktop. Whew!
Find this useful? Please consider sharing this article. Have a question about PowerShell? Contact us and we'll write a post about it.
Continue the conversion on the Ironman Software forums. Chat with over 1000 users about PowerShell, PowerShell Universal, and PowerShell Pro Tools.